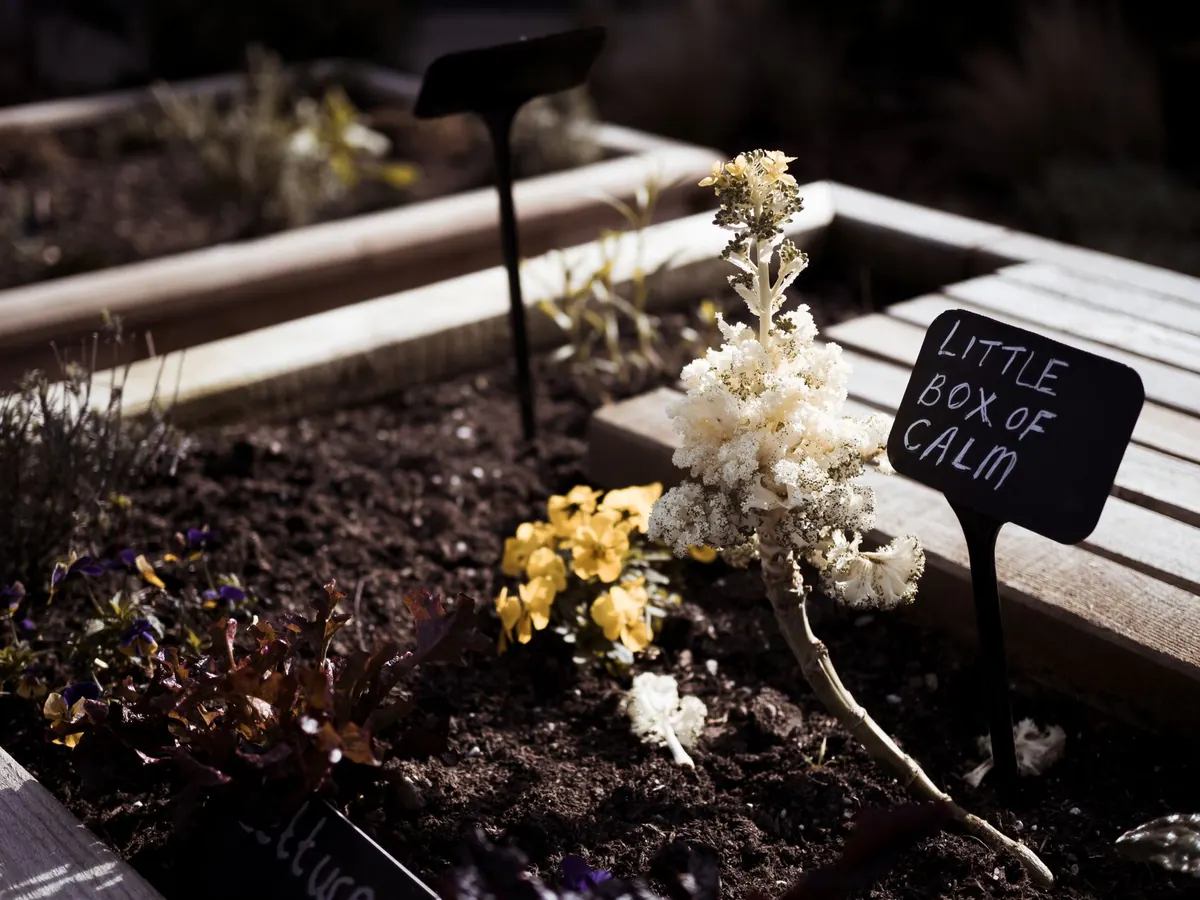
A raised bed does three useful things at once. It gives you soil you actually control, it saves your back from endless bending, and it turns a tired corner of the garden into something worth looking at. The catch is usually the price of timber. Buy a kit and you can easily spend more on the frame than you'll spend on vegetables for the next three years.
Build it yourself from reclaimed boards, though, and the whole thing comes in comfortably under £100. Often well under, if you're willing to spend a Saturday morning hunting down materials. Here's how to do it properly, from choosing boards to filling the thing without remortgaging.
What you'll need
The timber is the main decision. Scaffold boards are the classic choice: roughly 225mm wide, 38mm thick and usually 2.4m long. Secondhand ones turn up regularly at reclaim yards, and they're thick enough to hold their shape for years. If you can't find those, look at old decking boards, concrete gravel boards, or rough sawn timber from a local merchant.
Your shopping list:
- Six boards about 2.4m long and 20cm or wider — enough for two layers of a 1.2m x 2.4m bed
- Four corner posts, roughly 50 x 50mm or 75 x 75mm, cut to about 45cm
- Two or three spare posts for bracing if your bed runs longer than 2.4m
- A box of 60–75mm galvanised screws — exterior grade, not the shiny indoor sort
- Cardboard or weed membrane for the base
- Optional: pond liner or damp-proof course offcuts to line the inside faces
On tools, you need less than you'd think: a saw, a drill or impact driver, a spirit level, a tape measure, a lump hammer and a spade. A string line helps for marking out. That's it.
Choose the size before you cut anything
Width matters more than length. Keep it to 1.2m or less so you can reach the middle from either side without standing on the soil and compacting it. That single rule saves a lot of regret later.
Length is flexible, but anything over 2.4m will bow outwards under the weight of wet compost unless you brace it. If you want a long bed, run two shorter ones side by side instead.
For depth, think about what you're growing. Salads, herbs, onions and beetroot are happy in 20cm. Carrots, parsnips, maincrop potatoes and anything with a serious root want 30cm or more. Two stacked boards gives you roughly 45cm, which is a comfortable working height and deep enough for almost anything.
Pick a spot with light and access
Most vegetables want six hours of sun a day, so avoid the shadow of a fence, shed or hedge. Also avoid sitting the bed right against a hedge — the roots will steal your water and nutrients from below.
Put it somewhere you can reach with a hose or watering can without a obstacle course, and somewhere you'll actually see it. A bed by the back door gets watered and picked. A bed at the far end of the garden gets forgotten.
If you're placing it on a patio or hard standing, that's fine. Lay it directly on the surface, put membrane underneath, and fill a little deeper since it won't have soil beneath to draw from.
Preparing the ground
You don't need to dig. You do need to deal with perennial weeds before you start, because a raised bed doesn't kill them — it hides them until they push up through your carrots.
Cut back bindweed, couch grass and dock, then fork out the worst of the roots. Level the area roughly. On a slope, bed the high side into the soil and let the low side sit proud, then check the top of the frame is level all the way round.
Cover the base with overlapping cardboard, tape and staples removed. Worms will pull it down over the first season, and it suppresses the weeds underneath while it lasts. Weed membrane works too, but cardboard is free.
Building the frame, step by step
- Cut your timber. For a 1.2m x 2.4m bed, four boards stay at full length for the long sides, and two are cut in half to make the eight short pieces you need for the ends and the second layer.
- Mark out the rectangle. Peg out string lines and check the diagonals are equal. If they match, your corners are square.
- Set the corner posts. Stand each post at a corner, sitting on the ground or into a shallow notch. Screw the first layer of boards to the posts, drilling pilot holes first to stop the boards splitting. Two screws per board end is plenty.
- Check for level. Rest your spirit level along the top edge and across the diagonals. Nudge the frame or shim it with offcuts until it sits true. Fixing a crooked frame is miserable; getting it right now takes two minutes.
- Add the second layer. Screw the upper boards to the same posts, and overlap the corners so the ends cover the joints below.
- Brace the middle. For anything over 2.4m, screw a short post to the inside of each long side at the midpoint, driven into the ground. It'll stop the sides bulging once the compost is wet.
If you're unsure about the treatment on reclaimed timber, line the inside faces with pond liner or damp-proof course before filling. It keeps soil away from the wood without affecting drainage.
Filling it without spending a fortune
This is where budgets quietly fall apart. A 1.2m x 2.4m bed filled to 30cm takes close to a cubic metre of material, and bagged compost adds up fast. Buy in bulk or by the trailer load where you can, and check whether your council sells green waste compost locally.
A good mix is roughly two parts topsoil to one part compost or well-rotted manure. Pure compost shrinks, dries out and leaves your plants sitting in a sunken hollow by August.
If the cost is still steep, try the lasagne method: a layer of logs, twigs and cardboard at the bottom, then grass clippings or kitchen waste, then 20–25cm of your soil and compost mix on top. It settles over the first year, so top it up in autumn.
Looking after it
Check the screws after the first winter, and tighten any that have worked loose. Top up the soil by 5cm each autumn with compost or manure, and the level won't drop away on you.
Treated boards will usually give you a decade or more. Untreated timber goes soft sooner, particularly at the base where it meets wet soil. Avoid creosote-treated timber and old railway sleepers, which aren't suitable for growing food.
Water deeply and less often rather than little and often — it encourages roots downwards. A soaker hose threaded along the bed saves a lot of standing about with a can, and a mulch of garden compost in early summer will cut your watering by half.
Start small, build it properly, and you'll have a bed that earns its keep for years. Then build a second one, because you'll want to.
Photo: Lisa Fotios / Pexels